Starting perennials from seed is not only cost-effective but also unlocks access to a broader spectrum of plant varieties, many of which might be unavailable in local nurseries. However, it requires an investment of patience and looking into proper techniques to ensure successful germination and growth.
In this comprehensive guide, we will go through starting perennials from seed. Our journey will span from the initial selection of suitable seeds to the meticulous care of the young plants, ensuring they thrive and become a vibrant part of your garden.
Annual vs Perennial – What is the Difference?
Perennials are plants that grace our gardens year after year, unlike their annual counterparts which complete their life cycle in a single season.
The longevity of perennials makes them a staple in many gardens, contributing to a sustainable and evolving landscape. These plants, known for their resilience, can survive harsh winter conditions only to regrow with renewed vigor in the spring.
Incorporating perennials into a garden offers a range of benefits. They tend to require less maintenance than annuals once established and can provide consistent structure and form to your garden layout. The diverse range of perennials available allows gardeners to create a tapestry of textures, colors, and blooms that can cater to various aesthetic and environmental conditions.
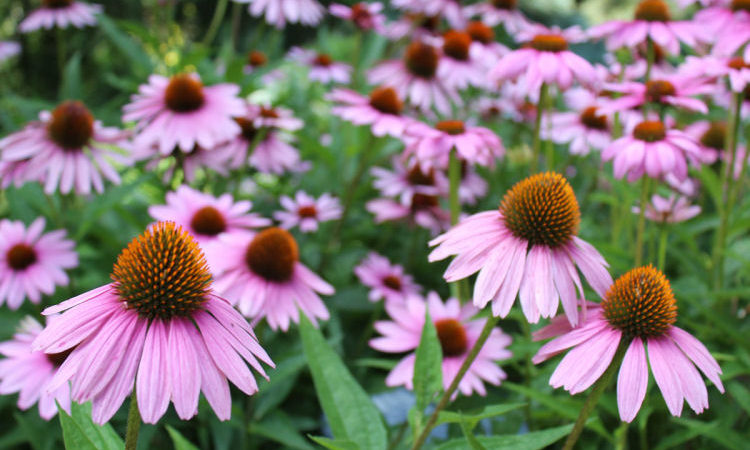
Among the popular types of perennials are the flamboyant daylilies, the lush peonies, the hardy hostas, and the enchanting lavender. Each of these varieties brings its unique flair to a garden, offering endless possibilities for creative garden design. Understanding the nature and requirements of these plants is essential in making informed decisions about the types of seeds to start your gardening journey.
Selecting Perennial Seeds
The initial step in the journey of growing perennials from seed is the careful selection of seeds. This choice is pivotal, as it dictates not only the future appearance of your garden but also the ease and success of your cultivation efforts. When selecting seeds, several factors must be considered, including the specific climatic conditions of your region, the type of soil in your garden, and the amount of sunlight the area receives.
It is advisable to source seeds from reputable suppliers. Local nurseries often offer a curated selection suited to your region’s climate, while online seed stores can provide access to a wider variety of options. When purchasing seeds, pay close attention to the information provided on the seed packets. This typically includes vital details such as plant hardiness zone, expected bloom time, and specific care instructions, all of which are crucial for successful germination and growth.
Essential Supplies for Seed Starting
To embark on the path of growing perennials from seed, one must be equipped with the right tools and materials. The essential supplies include seed trays or containers, a high-quality potting mix, and labels for organization. Each of these plays a role in ensuring the optimal environment for seed germination and growth.
For those who are budget-conscious or prefer a do-it-yourself approach, there are numerous alternatives. Seed trays, for instance, can be fashioned from household items such as egg cartons or yogurt cups, provided they offer sufficient depth and drainage. The potting mix, a critical component, should be light and well-draining to foster the delicate early stages of seed growth. Regardless of whether you opt for store-bought supplies or homemade solutions, the key is to create a nurturing environment where your perennial seeds can thrive.
Preparing to Plant
Prior to sowing the seeds, it’s essential to understand and prepare for any specific seed treatment processes they may require, such as stratification or scarification. Stratification involves simulating natural winter conditions to break seed dormancy, while scarification entails physically or chemically breaking the seed coat to encourage germination. Not all perennial seeds need these treatments, but for those that do, skipping this step can significantly lower germination rates.
After addressing seed treatment needs, the next step is preparing the soil and containers for planting. Use a sterile, nutrient-rich potting mix to fill your trays or containers, ensuring there is adequate drainage to prevent waterlogging. The soil should be lightly moistened before planting. This preparation is crucial as it sets the stage for successful seed germination and provides a foundation for healthy seedling growth.
Sowing the Seeds
The actual process of sowing seeds is delicate and requires attention to detail. Start by evenly distributing the seeds over the surface of the soil, following the spacing guidelines provided on the seed packet. Some seeds may require being lightly covered with soil, while others may need to remain on the surface to germinate properly.
After sowing, gently press the seeds into the soil to ensure good seed-to-soil contact without burying them too deeply. Label each container or tray with the plant’s name and sowing date; this is crucial for keeping track of your plants’ growth stages and requirements.
Once sown, the seeds require consistent moisture to germinate. This can be achieved through regular, gentle watering or by covering the containers with a plastic wrap to maintain humidity. However, avoid overwatering as this can lead to fungal diseases such as damping off. The key is to keep the soil consistently moist but not waterlogged.
Creating an Ideal Growing Environment
Once the seeds are sown, creating and maintaining an ideal environment for germination is crucial. This involves managing several factors, primarily light, temperature, and humidity. Most perennial seeds require ample light to germinate effectively. If natural light is insufficient, especially in winter months, consider using grow lights placed a few inches above the seed trays.
Temperature control is equally important. A consistent and warm temperature, typically between 65-75°F (18-24°C), is ideal for most perennials. Heat mats can be used to maintain this temperature range, especially in cooler environments. Additionally, maintaining a high humidity level is critical during the germination period. This can be achieved by covering trays with a clear plastic dome or wrap, which also helps in keeping the soil moist.
Managing Growth and Care
As seedlings emerge, careful management is required to ensure their healthy development. One of the first tasks is thinning, which involves removing extra seedlings to avoid overcrowding. This process ensures that each plant has enough space and resources to grow. After thinning, seedlings may be transplanted into individual pots if they were initially sown in a communal tray.
At this stage, attention to potential issues is vital. Damping off, a fungal disease common in seedlings, can be mitigated by providing good air circulation and avoiding overwatering. Regularly check for pests and treat them promptly to prevent infestations. As the seedlings grow, begin to introduce a balanced, water-soluble fertilizer at a diluted strength, gradually increasing to full strength as the plants mature.
Managing the growth of perennials from seed is a delicate balance of providing enough care without overdoing it. The objective is to foster robust seedlings that will eventually thrive when transplanted into the garden.
Frequently Asked Questions (FAQs)
- When is the best time to start perennial seeds indoors? The optimal time varies depending on the plant species and your local climate, but generally, it’s about 6-8 weeks before the last expected frost date.
- How long does it take for perennial seeds to germinate? Germination time can vary widely depending on the type of perennial. Some may sprout within a week, while others can take several weeks or even require a period of stratification.
- Do all perennials need full sun to thrive? Light requirements vary by species. While many perennials thrive in full sun, there are numerous varieties that do well in partial shade or even full shade.
- How often should I water my perennial seedlings? Watering should be done to keep the soil consistently moist, but not waterlogged. The frequency will depend on factors like the size of your containers, the type of soil, and the ambient temperature.
- When should I fertilize my perennials? Begin with a diluted fertilizer as the seedlings establish themselves, and gradually increase to full strength as the plants mature. Avoid over-fertilizing, which can be detrimental.
- Can I grow perennials in containers? Yes, many perennials can thrive in containers, but they may require more frequent watering and annual repotting or division.
Conclusion
Embarking on the journey of starting perennials from seed can be an immensely rewarding experience. It offers a sense of accomplishment and deepens the connection between the gardener and their garden. This guide has provided a comprehensive overview of the entire process, from selecting the right seeds to the ongoing care and maintenance of the plants. By following these guidelines, gardeners can successfully cultivate a diverse and flourishing perennial garden that provides beauty and joy year after year.
Remember, gardening is a learning experience, and each plant can teach something new. Embrace the challenges and enjoy the process of growing and nurturing your perennials. Happy gardening!